Bathroom Ventilation (9 Tips To Stop Moisture Problems)
9 Minute Read

Posted 7.1.26

Moisture is the root cause of most bathroom problems homeowners deal with repeatedly, from peeling paint and warped cabinetry to recurring mold. Bathroom ventilation is the only reliable way to address these issues at the source. If your remodel plans include improving the space itself, our bathroom remodeling services give San Pedro homeowners the right foundation. This guide covers nine practical tips for getting moisture under control for good.
Here is what this guide covers:
- Why moisture builds up in bathrooms and what it damages over time
- How to size and position a ventilation fan correctly
- Habits that reduce moisture buildup between fan uses
- Sealing, materials, and maintenance that work alongside ventilation
- When ventilation alone is not enough and what to do instead
Why Bathroom Ventilation Matters More Than Most Homeowners Realize
A single 10-minute hot shower can release more than a gallon of water vapor into the air. Without proper ventilation, that moisture settles on walls, ceilings, grout, and cabinetry within minutes. According to the Centers for Disease Control and Prevention, keeping indoor humidity below 50 percent is one of the most effective ways to prevent mold growth in residential spaces. In a bathroom without adequate ventilation, humidity regularly spikes well above that threshold after every shower, creating ideal conditions for mold to take hold within 24 to 48 hours of sustained moisture exposure.
We’re proud to serve homeowners in San Pedro, CA, and surrounding communities with bathroom remodeling services and more.
The damage moisture causes goes beyond mold. Sustained high humidity deteriorates paint, warps cabinetry, and can penetrate into wall framing where it causes hidden rot. Proper ventilation protects the structure of your bathroom over the long term.
9 Tips To Stop Bathroom Moisture Problems
These tips address ventilation from every angle, starting with the fan and moving through the habits and materials that support it.
1. Size Your Exhaust Fan to the Room
The most common ventilation mistake homeowners make is installing a fan that is too small for the bathroom. The Home Ventilating Institute recommends a minimum of 1 CFM per square foot of bathroom floor space, with a minimum of 50 CFM for any bathroom under 50 square feet. A 100 square foot bathroom needs at least a 100 CFM fan. Bathrooms with high ceilings, steam showers, or jetted tubs should size up further to account for the increased moisture load.
- CFM calculation: Match the fan’s CFM rating to the bathroom’s square footage as a minimum, then round up for heavy use or steam showers.
- Undersized fans: A fan rated too low cannot move moist air out fast enough to prevent condensation on walls and ceilings during a typical shower.
- Fan placement: Position the fan close to the shower or tub rather than the center of the room where it captures less moisture at the source.
2. Vent the Fan Directly to the Exterior
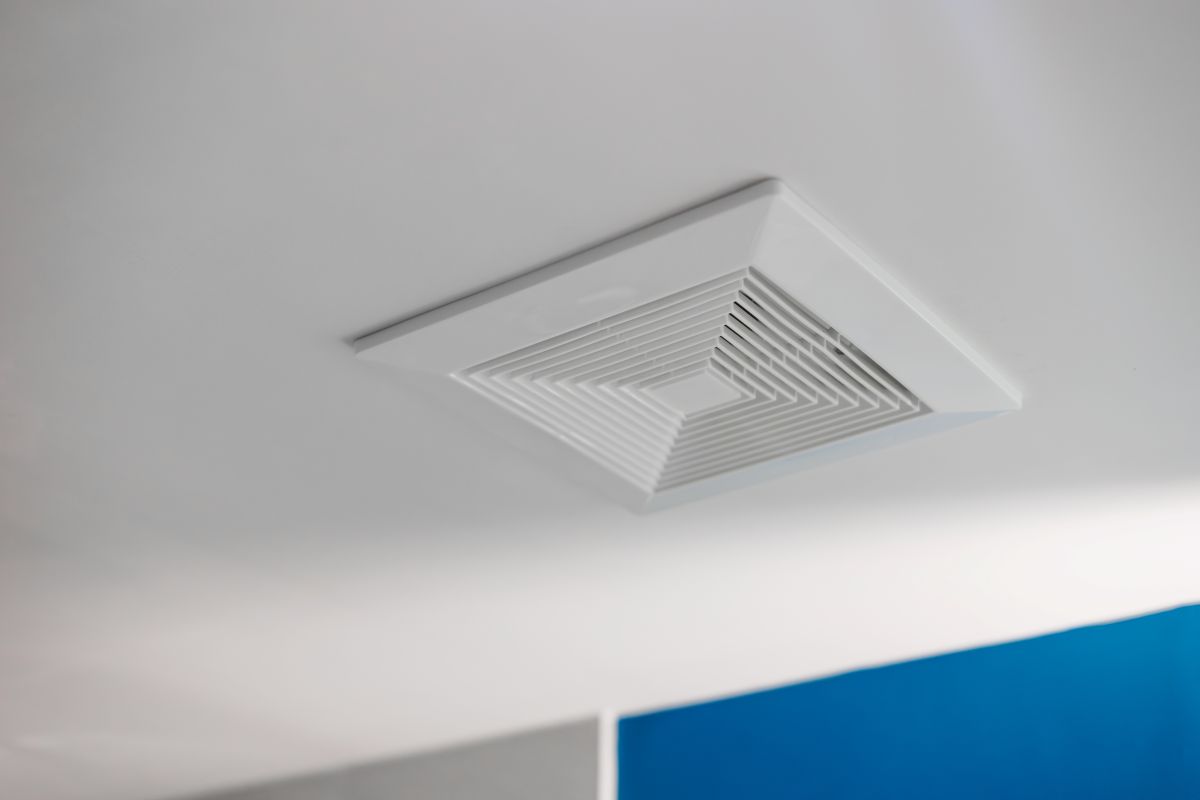
An exhaust fan that vents into the attic or a wall cavity moves the moisture problem rather than solving it. Every bathroom fan must duct directly to the exterior through a roof cap or wall vent.
- Duct route: Keep duct runs short and straight. Long runs with multiple bends reduce airflow and allow condensation inside the duct.
- Insulated ducting: In attic installations, use insulated flexible duct to prevent condensation before the air exits the building.
- Verify exterior termination: During fan operation, confirm airflow exits at an exterior vent. If it does not, the fan may be improperly installed.
3. Run the Fan Before, During, and After Your Shower
Running the fan only during a shower is not enough. Most experts recommend starting the fan before the shower begins to establish airflow, running it throughout, and continuing for at least 20 to 30 minutes after the shower ends. Stopping the fan immediately after showering leaves a significant amount of residual moisture in the air that then settles on surfaces.
- Pre-shower activation: Starting the fan a few minutes before the shower creates negative pressure that begins clearing humid air as steam is generated.
- Post-shower runtime: Running the fan for 20 to 30 minutes after showering removes residual moisture before it condenses on cooler surfaces.
- Timer switches: A timer switch replaces the standard wall switch and shuts the fan off automatically after a set duration.
4. Install a Humidity-Sensing Fan
A humidity-sensing fan activates automatically when moisture rises above a set threshold and shuts off when the air clears. This removes human error from the equation and is especially effective in guest bathrooms or households where fan use is inconsistent.
- Automatic activation: Humidity-sensing fans do not rely on anyone remembering to turn them on, which makes them significantly more reliable than manually operated fans in daily use.
- Appropriate threshold: Look for fans with adjustable humidity settings so the trigger point can be calibrated to the bathroom’s typical conditions rather than a fixed default.
- Quiet operation: Current models operate at 0.3 to 1.0 sones, which is nearly silent. Noise is one of the primary reasons homeowners avoid running fans, so a quieter model increases actual usage.
5. Squeegee Shower Walls After Every Use
A 30-second pass with a squeegee after each shower removes roughly 75 percent of surface moisture that feeds mold on tile and grout, reducing the load the exhaust fan has to handle.
- Shower walls and doors: Running a squeegee down tile walls and glass doors immediately after showering removes the bulk of water before it can evaporate into the air or seep into grout lines.
- Shower curtains: If the bathroom uses a curtain rather than a door, spread it fully across the rod after every shower so it dries flat rather than remaining bunched where moisture stays trapped.
- Towel placement: Hang towels fully spread on a towel bar rather than bunched on a hook. Wet towels piled on a hook stay damp for hours and become a secondary moisture source in an already humid room.

6. Keep the Bathroom Door Open After Showering
Leaving the bathroom door open after a shower allows moist air to disperse into the larger living space, where it clears much faster than in the confined bathroom.
- Air circulation: An open door gives replacement air a clear path into the room, helping the fan work more efficiently.
- Faster surface drying: Walls, mirrors, and fixtures dry faster when drier air from the rest of the home replaces the humid air being exhausted.
- Privacy alternatives: Even cracking the door a few inches improves moisture clearance significantly compared to keeping it fully closed.
7. Seal Grout Lines Annually
Grout is porous and absorbs moisture readily unless sealed. Unsealed grout lines allow water to penetrate behind tile and feed mold inside the wall cavity. Applying a penetrating grout sealer annually is one of the most cost-effective moisture prevention steps available.
- Annual application: Grout sealer should be reapplied every 6 to 12 months in high-use bathrooms. A simple water test confirms when resealing is needed: if water absorbs rather than beading on the grout surface, it is time to reseal.
- Shower caulking: Check and replace silicone caulking at all joints between tile and fixtures annually. Failed caulking allows water behind the tile where ventilation cannot reach it.
- Penetrating sealers: Use a penetrating grout sealer rather than a surface coating. Penetrating sealers soak into the grout and create a moisture barrier without changing the appearance of the tile.
8. Use Mold-Resistant Paint on Ceilings and Walls
Bathroom ceilings are the most mold-prone surface because warm moist air rises and collects there. Mold-resistant paint with built-in fungicide provides an additional layer of protection even when humidity briefly spikes.
- Ceiling treatment: Apply mold-resistant semi-gloss paint to the bathroom ceiling, where condensation collects most heavily during showers.
- Mold-inhibiting formulas: Built-in fungicide prevents mold spores from establishing on the paint film, buying time for ventilation to remove moisture.
- Moisture-resistant drywall: During renovation, use moisture-resistant drywall or cement board behind tile rather than standard paper-faced drywall.
9. Monitor Humidity With a Hygrometer
A hygrometer measures relative humidity in real time and gives homeowners an objective read on whether ventilation is working. Target levels between 35 and 50 percent after the fan has run its post-shower cycle.
- Real-time monitoring: A hygrometer shows exactly what humidity levels are doing throughout the day, which helps identify whether a fan is undersized, improperly vented, or simply not being run long enough after showering.
- Trigger for action: If humidity consistently stays above 60 percent even with the fan running, the ventilation system needs to be evaluated for sizing, duct integrity, or exterior termination issues.
- Supplemental dehumidifier: When ventilation improvements are limited by existing structure, a small dehumidifier can bring humidity to acceptable levels in the interim.
Common FAQs About Bathroom Ventilation
These are the questions homeowners most commonly ask about bathroom moisture and ventilation.
How do I know if my bathroom exhaust fan is working properly?
Hold a sheet of toilet paper to the fan grille while it runs. If it is pulled firmly against the grille, airflow is adequate. If it falls away, the fan may be clogged, underpowered, or improperly ducted. Clean the grille first, then reassess. If the problem persists, the duct run may need inspection.
Can I just open a window instead of using a fan?
Opening a window helps but is significantly less effective than a properly ducted exhaust fan, particularly in San Pedro’s coastal climate where outdoor humidity can be elevated. A window depends on wind direction and weather, while a fan actively removes humid air regardless of conditions.
How long should I run the bathroom fan after a shower?
Most ventilation experts recommend 20 to 30 minutes after the shower ends. A timer switch makes this automatic. If the bathroom still feels humid after 30 minutes, the fan may be undersized or the duct run may be reducing airflow.
When does a moisture problem require professional help?
If mold covers more than 10 square feet, ceiling material feels soft or swollen, or mold returns within weeks of cleaning, the moisture source is likely behind the walls. A professional assessment of plumbing, waterproofing, and structure is the right next step.
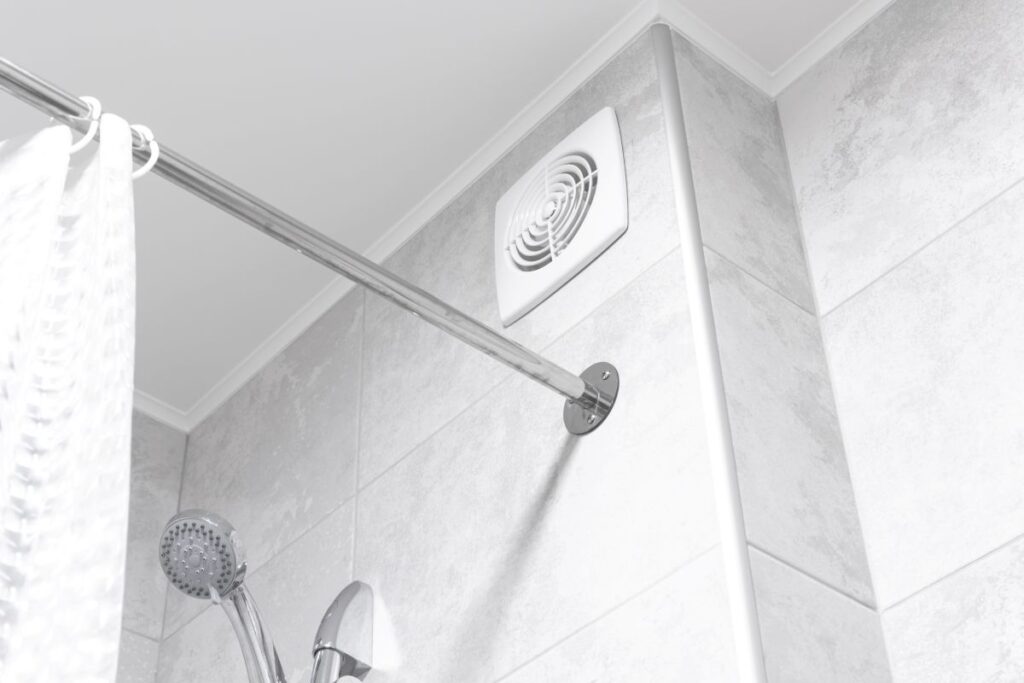
C&M Home Revival Addresses Moisture at the Source
Persistent moisture problems are often a sign that ventilation, waterproofing, or structure needs professional attention. At C&M Home Revival, we help San Pedro homeowners identify what is causing the issue and address it correctly. Written pricing before any work begins, and we stay accessible throughout. Free consultations are available.
Contact our team to schedule your free consultation and get a bathroom that stays dry, healthy, and properly ventilated year-round.
Recent Articles